Welcome to the world of vertical gardening with pallets! This step-by-step guide is all about helping you create your own vertical garden using pallets as a unique and sustainable solution. With easy-to-follow instructions, you’ll learn how to transform these humble wooden structures into a vibrant and space-saving garden. Whether you’re a beginner or an experienced gardener, this guide will give you the knowledge and confidence to create a beautiful and functional vertical garden using pallets. Get ready to bring greenery into your life in a creative and eco-friendly way!
Top Picks for Your Outdoor Oasis


How to Create Your Own Shipping Pallet Herb Garden | Makeful
Select a Suitable Pallet
Choose a pallet that is in good condition, sturdy, and free from any chemicals or toxins. Inspect the pallet for any signs of damage such as cracks or splintering. It’s important that the pallet is in good shape to provide a stable and secure base for your plants. Check if the pallet has been treated with chemicals or toxins that may be harmful to your plants or the environment. Look for any labels or markings that indicate if the pallet has been treated and avoid those that have.
Ensure that the pallet has an open design with spaces between the slats. These spaces are crucial for allowing proper airflow and drainage for your plants. Look for a pallet that has evenly spaced slats to provide sufficient room for the plants to grow. The open design also allows sunlight to reach the roots of your plants, promoting healthy growth. By selecting a pallet with an open design and spaces between the slats, you are creating an ideal environment for your plants to thrive.


Prepare the Pallet
To clean the pallet, start by grabbing a brush and a bucket of soapy water. Begin by scrubbing the entire pallet, making sure to remove any dirt or debris that may have accumulated. Pay special attention to the crevices and corners, as that’s where the most grime tends to collect. Rinse the pallet thoroughly with clean water and allow it to dry completely before moving on.
Next, inspect the pallet for any rough edges or splinters. Using sandpaper or a sander, carefully smooth down these rough areas to prevent any potential injuries when handling the pallet. Remember to wear protective gloves and eye goggles while sanding. Once you have addressed all the rough spots, wipe away any dust or debris left behind.
If you wish to give your pallet a finished look, consider applying a coat of paint or stain. Before starting, make sure the pallet is clean and dry. Choose a paint or stain that is suitable for wood, and follow the manufacturer’s instructions for application. Using a brush or a roller, apply an even coat of paint or stain, making sure to cover all surfaces of the pallet. Allow the paint or stain to dry completely before using the pallet.
Attach Landscape Fabric
To attach landscape fabric to a pallet, you will first need to cut a piece of fabric that fits the back and sides of the pallet. Lay the fabric over the back and sides, making sure it covers the entire surface. Use a pair of scissors or a utility knife to trim any excess fabric.
Next, it’s time to secure the fabric to the pallet. Grab a staple gun or nails, and starting at one corner, begin attaching the fabric to the pallet. Make sure to pull the fabric taut as you go to ensure a smooth finish. Space the staples or nails about 6 to 8 inches apart along the edges and at regular intervals across the rest of the fabric. Continue until you have completely secured the fabric to the pallet.
Here’s a breakdown of the steps:
- Cut a piece of landscape fabric to fit the back and sides of the pallet.
- Lay the fabric over the back and sides, trimming any excess fabric.
- Using a staple gun or nails, start at a corner and secure the fabric to the pallet.
- Pull the fabric taut as you go, ensuring a smooth finish.
- Space the staples or nails about 6 to 8 inches apart along the edges and at regular intervals across the rest of the fabric.
- Repeat until the fabric is completely attached.
Remember to always use caution when working with tools and materials, and be sure to wear appropriate safety gear. Happy pallet gardening!
Add a Layer of Potting Soil
To fill each section of the pallet with potting soil, start by grabbing a bag of potting soil and tearing it open. Carefully pour the soil into one section, making sure to distribute it evenly. Repeat this process for each section of the pallet until they are all filled. Remember, an even distribution of soil is important to ensure that the plants have enough room to grow and access to nutrients.
Once the sections are filled, it’s time to create a stable base for your plants. Press down gently on the soil in each section to compact it. This will help to prevent the soil from shifting and provide a sturdy foundation for your plants. Take care not to press down too hard, as you don’t want to compact the soil too tightly and restrict water drainage. After compacting the soil, your pallet is now ready for planting!
Plant Your Garden
To create a diverse and visually appealing vertical garden, start by selecting a variety of plants that are well-suited for this type of gardening. Consider plants like herbs, succulents, or flowers, as they tend to thrive in vertical environments. Once you have chosen your plants, carefully plant each seedling or cutting into their designated sections on the pallet. Remember to provide enough space for growth, allowing each plant to spread out comfortably.
Gently dig a small hole in the soil of the pallet, using your fingers or a small garden trowel. Place the root ball of the seedling or cutting into the hole, making sure it is securely nestled in the soil. Press the surrounding soil gently around the plant to ensure it is stable. Repeat this process for each plant, making sure to evenly distribute them across the pallet.
When planting, be mindful of the specific needs of each plant. Some might require more sunlight, while others prefer shade. Consider the positioning of the pallet garden to ensure that each plant receives the right amount of light. With careful planning and attention to detail, your vertical garden will flourish and become a beautiful addition to your space.
Wrap-Up and Final Thoughts
In conclusion, you now have all the tools and knowledge needed to create your very own vertical garden using pallets. It’s an accessible and budget-friendly option that allows you to make the most of your garden space. By following the step-by-step guide we’ve provided, you can enjoy a stunning and practical vertical garden that adds a touch of uniqueness to your outdoor decor. So why not give it a try? Happy gardening!
Essential Supplies


Creative Gardening Hacks
Getting Creative with Your Outdoor Space
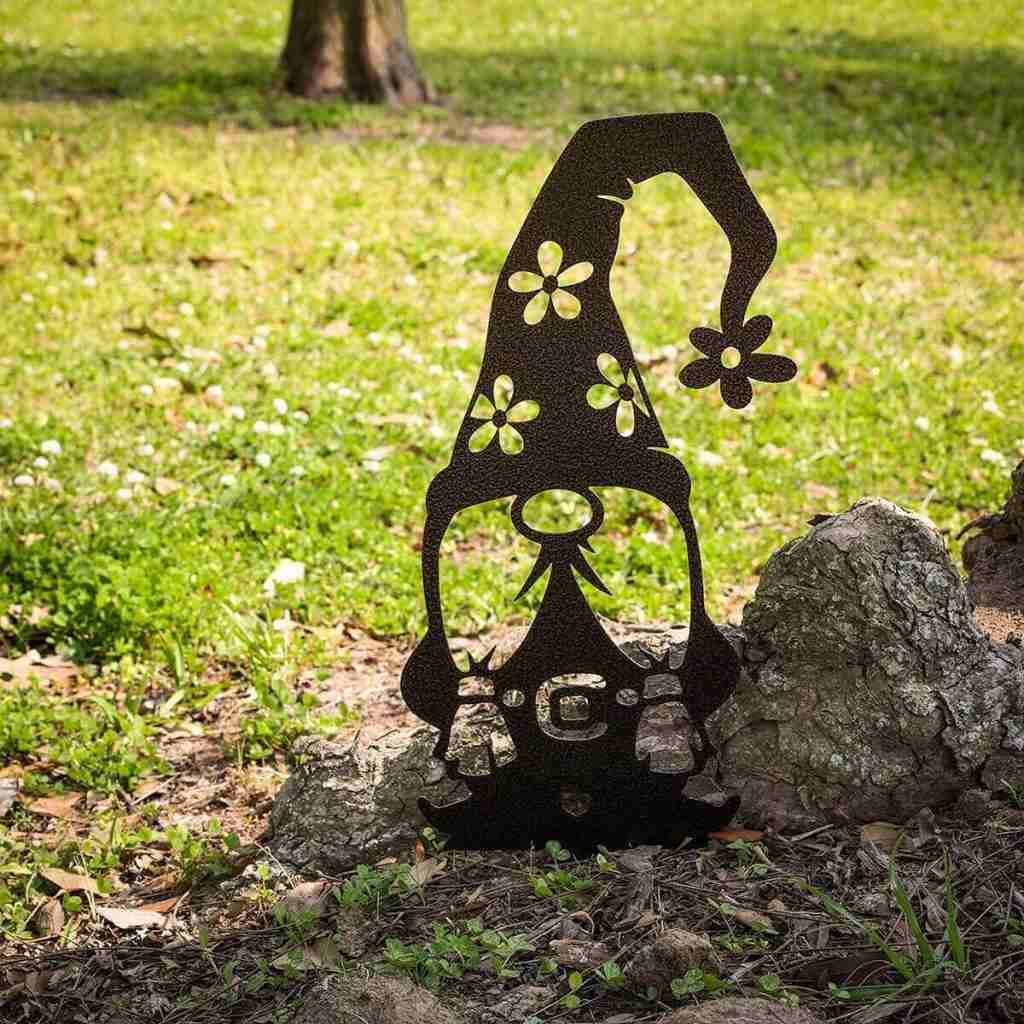
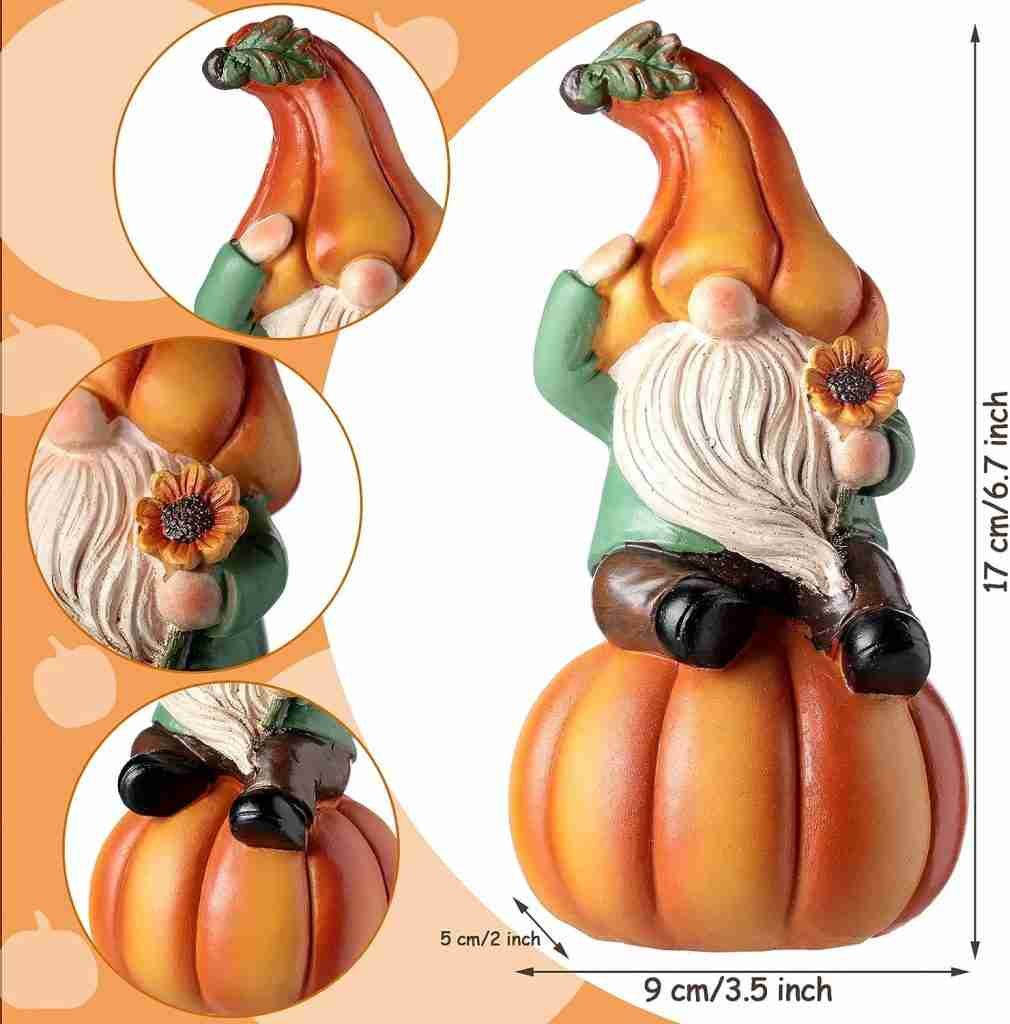
- Select a theme: Determine the style or theme you want to create in your garden. It can be anything from modern and minimalist to rustic and whimsical. The theme will guide your choices when it comes to selecting garden decor items
- Start with focal points: Choose one or two eye-catching pieces that will serve as the focal points of your garden. This could be a beautiful sculpture, a water feature, or a colorful planter. Focal points add interest and draw the eye into the space
- Consider scale and proportion: When selecting garden decor, keep in mind the size of your garden and its surroundings. Make sure the decor items you choose are proportionate to the space. A large garden might benefit from tall statues or larger-scale decor, while a small garden may require more delicate pieces
- Add accents and accessories: Once you have your focal points, enhance the overall look by adding smaller accents and accessories. These can include garden ornaments, wind chimes, decorative stepping stones, or colorful plant markers
- Incorporate lighting: Don’t forget to include lighting in your garden decor. It not only adds ambiance but also extends the enjoyment of your outdoor space into the evening. Consider using solar-powered lights or string lights to highlight certain features or create a magical atmosphere
- Remember, garden decor is a personal expression and should reflect your style and taste. Have fun experimenting and creating a garden that brings you joy!
Get your garden looking fabulous with these helpful tips and answers!
What are some budget-friendly garden decor ideas?
Sure! Here are some budget-friendly garden decor ideas for you:
- Repurpose old items: Give a new life to old items like buckets, mason jars, or wooden crates. You can turn them into planters or add some paint for a fresh look.
- DIY garden sculptures: Get creative and make your own garden sculptures using materials like rocks, driftwood, or even old utensils. Paint them to add a pop of color.
- DIY stepping stones: Create personalized stepping stones by mixing concrete and adding small decorative items like seashells, mosaic tiles, or marbles.
- Vertical gardening: Utilize vertical space by making a DIY trellis or wall planter. Use recycled materials such as pallets or old ladders for a rustic look.
- DIY wind chimes: Collect shells, bottle caps, or old forks and create your own unique wind chimes. Hang them from a tree or porch to add a whimsical touch.
- DIY birdhouses or feeders: Invite feathered friends into your garden with homemade birdhouses or feeders. Use inexpensive materials like empty milk cartons or small wooden boxes.
- Fairy garden: Create a charming fairy garden using containers, pebbles, small plants, and miniature accessories. This is a simple way to add a touch of magic to your garden.
- Solar-powered lights: Use solar-powered lights to illuminate your garden during the evening. They are cost-effective, easy to install, and eco-friendly.


